If you play Ingress and are keen to make some progress on the Spec Ops badge then you’re probably doing Mission Banners or Mission Mosaics. Depending on your mobility and motivation you’ll be checking the Mosaic directory and looking for new challenges. Eventually, you might start thinking “but there’s nothing in X” or “we should have one over with Y theme”.
When that happens you need to start with a great banner image and here’s how you turn that image into a set of mission ready files.
- Find your image – I use Google Images. Ensure the image is Royalty Free
- Check the size of your image…
the width must be at least 3072 pixels.
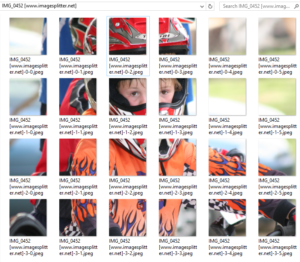
the height must be at least 512 pixels * the number of rows. Resize it now using Paint, Gimp or Photoshop. It’s ok to make the image bigger but be aware that might affect the quality of the image. - Test how your image looks once split into the right number of rows and the 6 columns. I use ImageSplitter.net but I’m sure there are others out there.
 Download and extract. Open the folder and resize it so your image lines up nicely. Double check that those images are square (width and height match) and at least 512px.
If your image still looks ok split out like this then it’ll look good once you see it in the Agent Profile screens.- rename the images – I do this…

The numbers in the file name relate to the row, column and I add in the mission number. In the world of computers you start counting at zero and I leave that as is, but for the mission number I start at 1 because that’s what you’ll be doing in the authoring tool.The mission number starts with the bottom right and works it’s way back. Keep in the row and column numbers and the images will stay in order in the folder.
FYI I used a photo taken years ago and it wasn’t big enough! Neither are photos taken with my iPhone 6.
And a big thank you to our local agent OrangeRice (just a shame he’s in the wrong faction) who has created some great banners and inspired me to make my own.
Be First to Comment